Barcode scanning in Odoo allows for efficient inventory management by automating the tracking of products.
Odoo's barcode scanning feature can be used to scan products in real-time, reducing manual entry errors and increasing productivity.
With Odoo's barcode scanning, you can quickly and easily track inventory levels, monitor stock movements, and identify potential stockouts.
Odoo's inventory management system can be integrated with barcode scanning to provide a seamless and efficient experience.
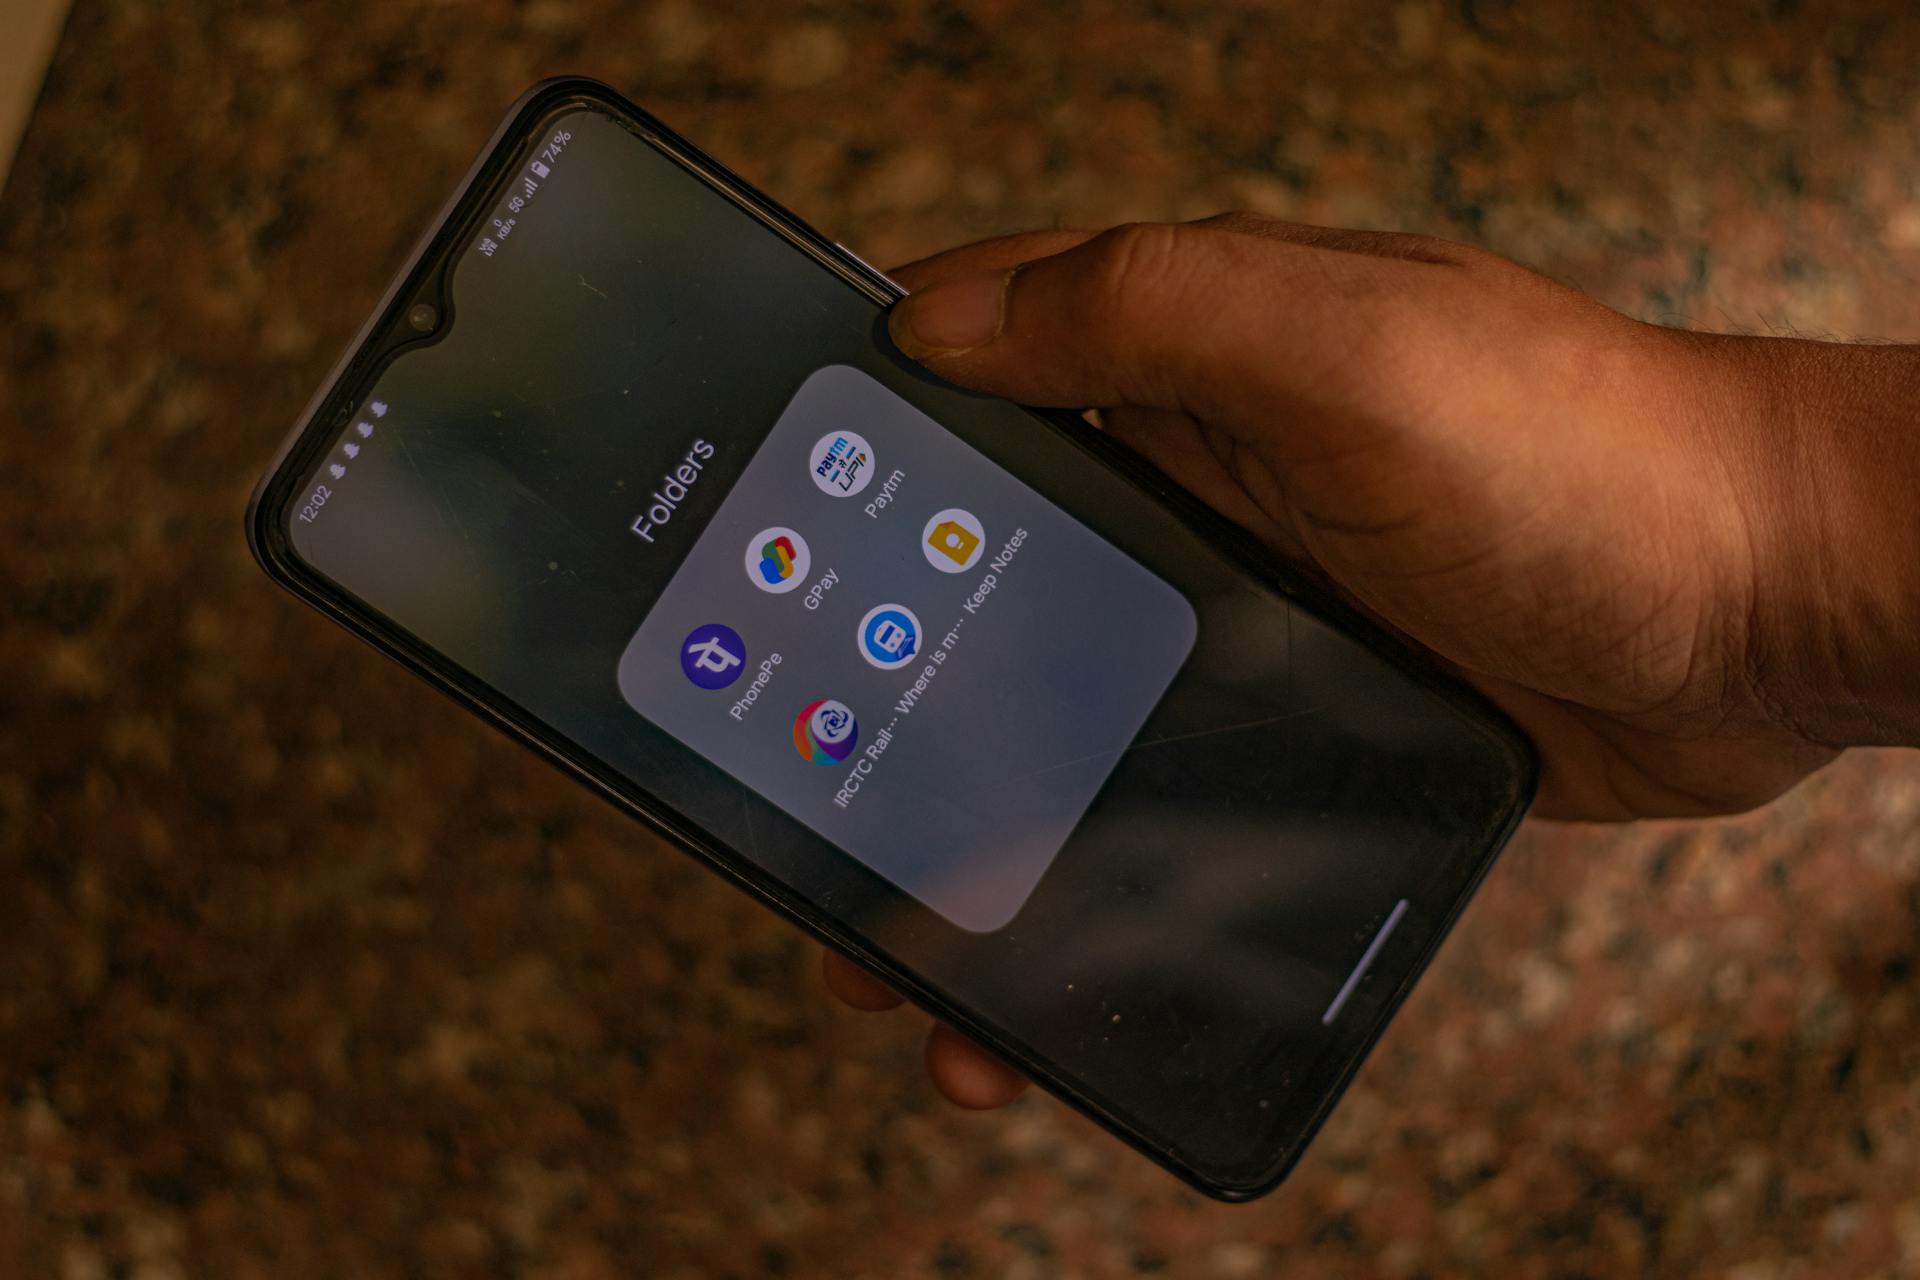
A unique perspective: Phonepe Barcode
Barcode Configuration
To configure barcodes for products, quantities, and lots in Odoo, you need to use specific barcode patterns and Application Identifiers (A.I.). The GTIN (Global Trade Item Number) is a 14-digit number that serves as a universally recognized identifying number.
You can use the following barcode patterns and A.I. to build a GS1 barcode that contains information about a product, its quantities, and the lot number:
To enable product tracking using lots, navigate to Inventory app ‣ Configuration ‣ Settings, and check the box for Lots & Serial Numbers under the Traceability heading. This will allow you to track products by lots and serial numbers.
To set up the product barcode, navigate to the intended product form in Inventory app ‣ Products ‣ Products, select the product, and click Edit. In the General Information tab, fill in the Barcode field with the unique 14-digit GTIN. For example, to record the GS1 barcode for the product FujiApple, enter the 14-digit GTIN 20611628936004 in the Barcode field on the product form.
By default, the Input Method, under Keyboard Emulation, is set to Default Mode. Change this setting to KeyEvent to ensure the barcode scanner can properly interpret barcodes with Odoo.
You might like: 14 Wall Street
Barcode Scanning
Barcode scanning is a crucial part of managing inventory in Odoo. To enable internal transfers for products in a warehouse, you need to enable the Storage Locations and Multi-Step Routes features.
To do this, head to the Inventory app and click on Configuration, then Settings. Scroll down to the Warehouse section and check the boxes next to Storage Locations and Multi-Step Routes. This will allow you to create and process internal transfers.
Check this out: Bank Transfers to Mexico
Scanning barcodes can be a bit tricky, but with the right settings, it becomes a breeze. To scan barcodes for internal transfers, you need to navigate to the Barcode app and click on the Operations button, then the Receipts button.
On the list of receipts, click on the warehouse operation (WH/IN) and scan product barcodes and lot numbers with a barcode scanner. The scanned product then appears on the list. You can use the pencil button to manually enter quantities for specific lot numbers.
Not all operations require scanning barcodes, but some do. For example, receipts and delivery orders can be configured to require a serial or lot number to process the operation. To make it mandatory to scan a barcode for serial numbers and lots, go to the Inventory app and select the operation type where barcodes should be required.
Here's a quick rundown of the different types of scanning:
Cipherlab mobile computer scanners also require some setup to work with Odoo. To ensure barcodes can be scanned, navigate to the Cipherlab scanner's home screen and click on the ReaderConfig app. This will configure the scanner to work with Odoo.
Worth a look: Barcode Scanner Odoo Community
Barcode Settings
To access the Product Barcodes configuration page, go to Inventory app ‣ Configuration ‣ Settings. In the Barcode section, under the Barcode Scanner feature, click Configure Product Barcodes.
You can populate the barcode field by typing or using scanner input. The barcode lookup feature can be used to automatically find information about a product based on its barcode, and new products can be added to the database directly from the Barcode app by scanning a barcode.
To enable automatic barcode look up, go to Inventory app ‣ Configuration ‣ Settings and scroll down to the Barcode section to tick the box for Stock Barcode Database. This will allow Odoo to automatically add product information using the Stock Barcode Database setting for any UPC, EAN, or ISBN barcode.
To change the barcode nomenclature, go to Inventory app ‣ Configuration ‣ Settings and scroll down to the Barcode section to select the nomenclature under Barcode Scanner. Odoo supports using any string as a barcode, so users can also create custom internal references to use with barcode scanners.
Here is a list of barcode nomenclature options:
- Default Nomenclature
- Default GS1 Nomenclature
- GS1 Company Prefix
Databases hosted on Odoo.sh or on-premise require configuring an API key.
Enable App
To enable the Barcode app, you need to install it by enabling the feature from the settings of the Inventory app. Go to the Inventory app, then click on Configuration and then Settings.
Scroll down to the Barcode section and click the checkbox next to the Barcode Scanner feature. This will display new options under the Barcode Scanner feature.
You can select either Default Nomenclature or Default GS1 Nomenclature from the drop-down menu. The nomenclature you choose will determine how scanners interpret barcodes in Odoo.
Click Save at the top of the page to save your changes. The page will refresh and display new options.
Broaden your view: Odoo Inventory Reports
Disable Lot and Serial Numbers
To disable lot and serial numbers, head to the Inventory app and navigate to Configuration. In the Operations Types section, select the operation type you want to modify.
You can then untick the "Create New" option in the LOTS/SERIAL NUMBERS section to disable the use of serial numbers.
This setting will allow you to receive products without supplying a serial number or lot number, but you'll still be able to scan a serial number at the receipt stage if needed.
Worth a look: Ubs Elmont Lirr Commuter Lot
Nomenclature
You can use any string as a barcode in Odoo, allowing for custom internal references with barcode scanners. This means you have flexibility in how you create and use barcodes.
To create a new GTIN for a product, you'll need a GS1 Company Prefix, which is explained in more detail in the GS1 nomenclature section.
Most retail products use EAN-13 barcodes, also known as Global Trade Identification Numbers (GTIN).
To change the barcode nomenclature in Odoo, head to the Inventory app and navigate to Configuration ‣ Settings.
Databases hosted on Odoo.sh or on-premise require configuring an API key to use the barcode scanner feature.
Odoo supports various nomenclature options, including default conventions and optional settings, which are outlined in the Default nomenclature section.
Worth a look: Amazon Pay Barcode
Lookup
You can automatically add product information using the Stock Barcode Database setting for any UPC, EAN, or ISBN barcode.
To enable this feature, head to the Inventory app, then Configuration, and finally Settings. Scroll down to the Barcode section and tick the box for Stock Barcode Database.
For your interest: Stock Market History Database
Barcodes can be added to existing products or new ones as they're created through the products configuration form. To access a product's form, go to the Inventory app, then Products, and select the product to add a barcode to.
The General Information tab is where you'll find the Barcode field. Click on it to type in the barcode or use a scanner to input the barcode value.
Set Product
To set product barcodes, you can either type them in or use a scanner.
You can add barcodes to products from the Product Barcodes configuration page or from any product form in the Inventory, Manufacturing, or Purchase apps.
To access a product's form, go to the Inventory app, select the product to add a barcode to, and click on the General Information tab.
In the General Information tab, click the Barcode field to either type in the barcode or use a scanner to input the barcode value.
Expand your knowledge: Inventory Valuation in Odoo
If you're using product variants, configure barcodes on individual variants and not the product template to allow scanning to retrieve the variants.
Here's a summary of the barcode fields for product variants:
Barcode Options
You can configure operation types to require a serial or lot number for processing, and even make scanning a barcode mandatory for these numbers.
Operation types can be set to require scanning a barcode for serial numbers and lots, and this can be done in the Inventory app.
To make scanning a barcode mandatory, go to the Configuration section of the Operations Types in the Inventory app, select the operation type, and click on the Barcode App tab.
In the MANDATORY SCAN section, set Lot/Serial to Mandatory Scan.
Expand your knowledge: Mandatory Retirement
Barcode Management
To manage barcodes in Odoo, you need to enable the Barcode app from the Inventory app's settings. This will allow you to process transfers and access new options for barcode interpretation.
First, go to the Inventory app's Configuration page and scroll down to the Barcode section. Tick the checkbox next to the Barcode Scanner feature to enable it.
Once enabled, you can select the barcode nomenclature from the drop-down menu, either Default Nomenclature or Default GS1 Nomenclature. This will affect how scanners interpret barcodes in Odoo.
To set product barcodes, you can either add them from the Product Barcodes configuration page or from any product form in the Inventory, Manufacturing, or Purchase apps. You can populate the barcode field by typing or using scanner input.
If you're adding a new product, you can use the barcode lookup feature to automatically find information about the product based on its barcode. This can save you time and effort in setting up new products.
To access a product's form, go to the Inventory app's Products page and select the product to add a barcode to. In the General Information tab, click the Barcode field to either type in the barcode or use a scanner to input the barcode value.
Here are the barcode patterns and Application Identifiers (A.I.) used to build a GS1 barcode that contains information about a product, its quantities, and the lot number:
To print a barcode for one or multiple product lot and serial numbers, go to the Inventory app's Lots / Serial Numbers page, tick the checkbox for each product to print, click the Print button, and select either PDF or ZPL depending on your printer setup.
Barcode Generation
In Odoo, barcode generation is a crucial feature for businesses that need to track inventory, manage stock, and streamline their operations. Odoo's barcode generator allows users to create unique barcodes for products, services, and even customers.
To generate a barcode in Odoo, users can simply click on the "Barcode" button on the product form. This will automatically create a unique barcode that can be printed or displayed on the product label.
Odoo's barcode generator supports various barcode formats, including EAN-13, EAN-8, and Code 128.
Worth a look: Meta Announces Ai Users
Print Location
To print location barcodes, you need to have the Storage Locations feature enabled. This feature allows you to track where products are stored and manage transfers.
To access the settings, go to the Inventory app and click on Configuration. From there, scroll down to the Warehouse section and click on Locations.
Tick the boxes for the locations you want to print barcodes for, and a Print button will appear. Clicking this button will download a PDF with barcodes for all selected locations.
Readers also liked: Canadian Currency Tactile Feature
Generate Serial Numbers Prior to Receipt
Generating serial numbers before a receipt is a convenient option available in the Inventory app. This allows you to print all the serial numbers with the picking order for the receipt, making it easier to manage your inventory.
To generate lot and serial numbers, click on Receipts in the Inventory app and select the receipt that requires generated lot or serial numbers. The Operations tab is where you'll find the line for the product, and clicking the (list) icon will open a pop-up menu.
In this pop-up menu, click Generate Serials/Lots to assign serial numbers to your products. This feature is particularly useful for large shipments where manual entry would be time-consuming.
By generating serial numbers before the receipt, you can save time and reduce errors in the receiving process.
Explore further: Electronic Receipt
Gs1-Compatible Qr Codes
GS1 nomenclature can be used for serial numbers and lots. This is a great option for businesses that want to track their inventory with a high level of precision.
To enable GS1 barcodes for lots and serial numbers, you need to go to the Inventory app. From there, navigate to Configuration and then Settings.
In the Traceability section, under Lots & Serial Numbers, you'll find a box to tick for Print GS1 Barcodes for Lots & Serial Numbers. This is a simple but crucial step to get started.
Barcode Transfer
To create and process internal transfers for products in a warehouse, you need to enable the Storage Locations and Multi-Step Routes features.
You can do this by going to the Inventory app, then Configuration, and then Settings. Scroll down to the Warehouse section and click the checkboxes next to Storage Locations and Multi-Step Routes.
Internal transfers can be processed and scanned for existing transfers using the Barcode app. You can also create transfers from scratch by scanning a printed operation type barcode.
To create a transfer from scratch, navigate to the Barcode app and scan the product barcode using a USB or Bluetooth barcode scanner. Alternatively, use a smartphone as the scanner by clicking the Tap to Scan button.
See what others are reading: Multi Commodity Exchange
Face the camera toward the printed operation type barcode to scan it, and the barcode will be processed, navigating you to a barcode transfer screen. From this screen, you'll see an overview of all products to process within that specific internal transfer.
To add products, scan the product barcode or manually enter the product into the system by clicking the Add Product button. Then, click Validate to process the internal transfer.
Consider reading: Stock Iphone Home Screen
Barcode Inventory
To access the Product Barcodes configuration page, go to Inventory app ‣ Configuration ‣ Settings and click on Configure Product Barcodes. From this list view, click the Barcodes column for any product to enter its barcode.
Barcodes can be added to both existing products and new products as they are created through the products configuration form. To access a product’s form, go to Inventory app ‣ Products ‣ Products and select the product to add a barcode to.
You might like: Configuration Odoo
To build a GS1 barcode that contains information about a product, its quantities, and the lot number, the following barcode patterns and Application Identifiers (A.I.) are used:
Verify Product Moves
To verify product moves, you can check the Product Moves report in the Inventory app. This report is a valuable tool for ensuring that products are accurately tracked and recorded.
The report groups items by product by default, making it easy to identify any discrepancies or issues. You can click on a product line to open its collapsible drop-down menu and view a list of stock move lines for the product.
The latest stock move will match the warehouse reception reference number and quantity processed in the barcode scan, demonstrating that records processed in the Barcode app were properly stored in Inventory. This provides an added layer of verification and accountability.
Curious to learn more? Check out: Carrier Corporation Move to Mexico
Products and Lots
Barcodes can be assigned to existing products from the Product Barcodes configuration page or from any product form in the Inventory, Manufacturing, or Purchase apps.
To print a barcode for one or multiple product lot and serial numbers, go to Inventory app ‣ Products ‣ Lots / Serial Numbers. In the list view, tick the checkbox for each product to print, click the Print button, and select either PDF or ZPL depending on printer setup.
You can add a barcode to a product's form by going to Inventory app ‣ Products ‣ Products and selecting the product to add a barcode to. Then, click the Barcode field to either type in the barcode or use a scanner to input the barcode value.
To build a GS1 barcode that contains information about a product, its quantities, and the lot number, specific barcode patterns and Application Identifiers (A.I.) are used.
Note that the A.I.01 for GTIN product barcode pattern should be omitted on the product form, as it is only used to encode multiple barcodes into a single barcode that contains detailed information about the package contents.
Manually Input Serial and Lot Numbers
You can manually input serial and lot numbers when receiving a shipment, especially if you have a small number of products. This can be done by tapping the pencil icon after scanning the product bar code.
After opening an existing receipt or creating a new one, tap the Serial/Lot Number field and enter the serial number, then tap Confirm. The Create New option will require you to supply a serial number or lot number, either by scanning or typing.
If you choose to type in the serial number, you can do so without having to scan it, but keep in mind that the Inventory app can automatically generate serial numbers for you.
A different take: Lot Quality Assurance Sampling
Featured Images: pexels.com