Setting up echeck for your business can be a straightforward process, but it requires some planning and research. Echecks can be used to process payments, reduce processing fees, and increase customer satisfaction.
To get started, you'll need to choose an echeck payment gateway, such as PayPal or Stripe, which can be integrated with your website or point-of-sale system. This will allow you to accept echecks from customers.
Your business will need to obtain an echeck processing account, which typically requires a one-time setup fee and a monthly subscription fee. The fees for echeck processing are generally lower than those for credit card transactions.
Echecks can be processed online, by phone, or in-person, making it a convenient option for customers.
If this caught your attention, see: A Unilateral Contract Requires Action
What Is a Check?
A check is a payment method that allows you to transfer money from one account to another. It's a traditional way to make payments, but we're going to focus on its digital version, eCheck.
An eCheck is similar to a paper check, where you provide your bank account, routing number, and payment authorization through an online form for electronic processing.
You input the necessary information into a secure online system, which is a digital version of writing a check by hand. This is what makes eCheck a convenient and efficient way to make payments.
The money is then transferred from your bank account to the recipient's account electronically, just like writing a check but without the paper.
Setting Up E-Check
To set up an eCheck account, you'll need to link your bank account to your newly created eCheck account, which involves providing your bank's routing number and your account number. Some platforms may require additional verification steps to ensure the legitimacy of the linked account.
You'll also need to specify which account should be used for eCheck transactions, set spending limits, and establish any other preferences offered by the service provider. This is typically done after linking your bank account and can be found in the payment preferences section of your eCheck account.
The steps to set up an eCheck account may vary depending on the platform or service you choose, but most involve verifying eligibility, linking your bank account, and configuring payment preferences.
Verify Eligibility
To set up e-check, you'll need to verify your eligibility. This typically involves having an active bank account and providing necessary identification information.
You'll also need to ensure that your bank is compatible with the chosen eCheck service. Not all banks are created equal, so it's essential to check beforehand.
Here are the basic requirements for e-check eligibility:
By checking these requirements, you can ensure a smooth e-check setup process.
Enable Authorize.Net Merchant Account
To enable your Authorize.Net Merchant Account for eCheck payments, follow these steps. First, log into the Merchant Interface and click on Account in the top navigation.
Click on Merchant Profile from the main left sidebar menu, and to the right of eCheck.Net, click Sign Up. Next, complete and submit the online application for eCheck.
Once you've received confirmation, eCheck will be enabled in your Merchant Account. You can then view the Authorize.Net Testing Guide to ensure everything is working smoothly.
Here are the detailed steps in a concise list:
- Log into the Merchant Interface.
- Click Account in the top navigation.
- Click Merchant Profile from the main left sidebar menu.
- To the right of eCheck.Net, click Sign Up.
- Complete and submit the online application for eCheck.
Send a Check from Bank
To send a check from your bank, you'll need to set up online banking and link a payment method. This is a secure and convenient way to make electronic payments. You'll then need to log in to your account, initiate the payment, and select eCheck as the payment method. Make sure to enter the recipient's and payment details accurately. Review and confirm the transaction, and authorize the payment. Once sent, you'll receive a confirmation, and the recipient will be notified. Specific steps may vary by bank, so contacting customer support for assistance is advisable. Be aware of potential fees associated with eCheck usage.
Authorize the Payment
To authorize an eCheck payment, you'll need to provide consent, which can be done through an Authorize Payment button, digital signature, or acceptance of payment terms.
You'll submit the payment request, and the payment processor will verify your bank account details and funds availability. The eCheck is then processed through the ACH network, transferring funds from your account to the recipient's account.
You might enjoy: Authorize Net Pci Dss
Here's a step-by-step breakdown of the authorization process:
- Submit the payment request.
- The payment processor verifies your bank account details and funds availability.
- The eCheck is processed through the ACH network.
- Funds are transferred from your account to the recipient's account.
After completion, you'll receive a confirmation email or notification of the successful eCheck payment.
Linking Bank Account
Linking your bank account is a crucial step in setting up an eCheck account. You'll need to provide your bank's routing number and account number to facilitate eCheck transactions.
To link your bank account, you'll typically need to provide the routing number and account number. Some platforms may require additional verification steps to ensure the legitimacy of the linked account. This is a standard process that you'll encounter when setting up an eCheck account.
In fact, the process of linking your bank account is outlined in the general guide for setting up an eCheck account. According to this guide, linking your bank account involves providing your bank's routing number and your account number.
Here's a simple step-by-step guide to help you link your bank account:
Readers also liked: Equity Release Guide
1. Provide your bank's routing number.
2. Provide your account number.
3. Complete any additional verification steps required by your platform.
Remember, linking your bank account is a necessary step to enable eCheck transactions. By following these steps, you'll be able to set up your eCheck account and start using this convenient and efficient payment method.
Processing E-Checks
Processing eChecks involves a few key steps. The entire process typically takes 3-5 business days.
To initiate an eCheck, a customer must first authorize the transaction, which can be done online through a secure payment gateway or by phone. The customer then provides their bank account number, routing number, and the amount to be paid.
The payment gateway securely transmits the information to the bank, which processes the payment just like it would with a paper check. Once the funds are withdrawn from the customer's account and deposited into your business's account, both the customer and the business receive a confirmation of the transaction.
If this caught your attention, see: Pci Dss Payment Gateway
Here's a breakdown of the eCheck processing timeline:
The entire process is secure, convenient, and cost-effective, making eChecks a popular payment method for businesses and customers alike.
Online Check Processing
Online check processing has become a convenient and secure alternative to traditional paper checks. Businesses can set up eCheck payments with a reliable payment processor like eCheckplan, which provides secure and efficient eCheck processing services.
To accept eCheck payments, you'll need to set up a merchant account with your chosen payment processor. This account will allow you to process transactions and receive funds. Here's a step-by-step guide to setting up eCheck payments:
- Choose a Payment Processor: eCheckplan is a great option, providing businesses with secure and efficient eCheck processing services.
- Set Up a Merchant Account: To accept eCheck payments, you’ll need to set up a merchant account with your chosen payment processor.
- Integrate with Your Website or POS System: Once your merchant account is set up, you’ll need to integrate the eCheck payment option with your website or point-of-sale (POS) system.
- Test the System: Before going live, it’s essential to test the eCheck payment system to ensure everything works smoothly.
- Promote eCheck Payments: Let your customers know that you now accept eCheck payments.
The eCheck payment process typically involves authorization, transaction information, processing, funds transfer, and confirmation. The payment gateway securely transmits the information to the bank, which processes the payment just like it would with a paper check. The funds are usually transferred within 3-5 business days.
Test Transactions
Test Transactions are a crucial step in processing e-Checks.
Before initiating large transactions, it's essential to conduct a small test transaction to verify that funds can be transferred smoothly between accounts without any issues.
This step helps you identify and resolve any potential problems before processing larger transactions, which can save you time and money in the long run.
Initiating a small test transaction can also give you peace of mind, knowing that your eCheck account is set up correctly and ready for larger transactions.
If this caught your attention, see: Post the Transactions to T Accounts
Payment Preferences
To set up payment preferences, you'll need to specify which account should be used for eCheck transactions. This will help ensure that your business is set up correctly to receive eCheck payments.
You may also need to set spending limits and establish other preferences offered by your service provider. This will help you stay on top of your finances and avoid any potential issues.
Here are some key things to consider when setting up your payment preferences:
Enable Authorize.Net in GiveWP
To enable Authorize.Net in GiveWP, navigate to GiveWP > Settings > Payment Gateways > Gateways.
You'll then need to enable the Authorize.Net eCheck (ACH) option.
Make sure your Authorize.Net account is set up to handle eCheck transactions, as this is a requirement for eCheck to work in GiveWP.
Additional reading: Authorize.Net
Set Payment Preferences
Setting up payment preferences is a crucial step in the eCheck payment process. You may need to specify which account should be used for eCheck transactions, set spending limits, and establish other preferences offered by the service provider.
To avoid confusion, it's essential to establish clear payment policies, including fees, return/refund procedures, and processing times. This will help you communicate effectively with your customers.
You can set spending limits to control how much money can be spent using eCheck transactions. This is a useful feature to prevent unauthorized transactions and protect your business.
To ensure smooth transactions, it's vital to regularly monitor the payment channel for any errors. Promptly address customer concerns to maintain a positive reputation.
Here are some key payment preferences to consider:
Send PayPal Payment
If you make a PayPal payment without linking a debit or credit card to your account, the payment will be converted into an eCheck. Electronic checks typically take up to 7 business days to clear.
To speed up future payments, consider adding a credit or debit card to your PayPal account as a backup payment method. This will allow you to pay instantly from your bank account when needed.
PayPal advises that before sending an eCheck, you ensure that you have sufficient funds in your bank account. A lack of funds may result in a declined payment.
If the first attempt is unsuccessful, PayPal will try again within 3 business days. However, if your bank declines the payment a second time, PayPal will cancel the transaction, resulting in a penalty fee.
If an instant transfer option is available, you won’t be able to send an eCheck, as the instant transfer will take precedence.
Related reading: Reg B 30 Days
E-Check Services
To set up eCheck services, you'll need to choose a reputable service provider that supports electronic check transactions. Research and select a provider that aligns with your needs, such as banks, financial institutions, or online payment platforms.
You can find an eCheck service by searching online and checking each provider's pricing, security, and available payment methods on their official websites. Look for reliable customer support and available integration options, especially if you plan to operate internationally.
Here are some key features to consider when selecting an eCheck service provider:
- Pricing: eCheck per transaction fee: 0.75% (Example 3)
- Security: Look for end-to-end encryption and data analytics (Example 6)
- Integration: Check for available integration options with your website or point-of-sale (POS) system (Example 5)
- International transactions: Ensure the service offers cross-border transactions (Example 2)
Find E-Check Service
Finding the right eCheck service is crucial for your business. eCheckplan is a great option, providing secure and efficient eCheck processing services.
When choosing an eCheck service, consider the fees associated with it. The eCheck per transaction fee can range from 0.75% to 10¢, depending on the provider.
You'll also want to look for a service that integrates well with your website or point-of-sale system. This usually involves adding a payment gateway that supports eChecks.
Here are some key features to look for in an eCheck service:
Before selecting an eCheck service, research and compare different providers to find the one that best suits your business needs.
Benefits of Checkplan for Payments
eCheckplan offers a range of benefits for businesses looking to accept e-check payments. eCheckplan doesn't charge setup fees, making it easy for businesses to start accepting e-check payments without a large upfront cost.
With eCheckplan, businesses can save money on transaction fees due to competitive processing rates. This means more money in the bank for businesses to invest in their operations.
The Check Verification tool helps ensure that checks are valid before processing, reducing the risk of fraud. This is particularly important for businesses that process a high volume of checks.
eCheckplan provides a dedicated account manager to assist with any questions or issues that arise. This means businesses can get help when they need it, without having to navigate a complex support system.
Explore further: Do Businesses Prefer Cash or Credit
eCheckplan offers free integration with your website or POS system, making it easy to start accepting e-checks quickly. This is a huge time-saver for businesses that want to get up and running quickly.
Here are some of the key benefits of eCheckplan at a glance:
- No Setup Fees: eCheckplan doesn’t charge setup fees.
- Competitive Rates: With competitive processing rates, eCheckplan helps businesses save money on transaction fees.
- eCheck Verification Tool: The Check Verification tool helps ensure that checks are valid before processing.
- Dedicated Account Manager: eCheckplan provides a dedicated account manager to assist with any questions or issues that arise.
- Free Integration: eCheckplan offers free integration with your website or POS system.
Payment Details
To send an eCheck, you'll need to gather the necessary bank account information, including the bank's routing number and account number, as well as the account holder's name.
Gathering this information is crucial, as it will be used to complete the eCheck transaction.
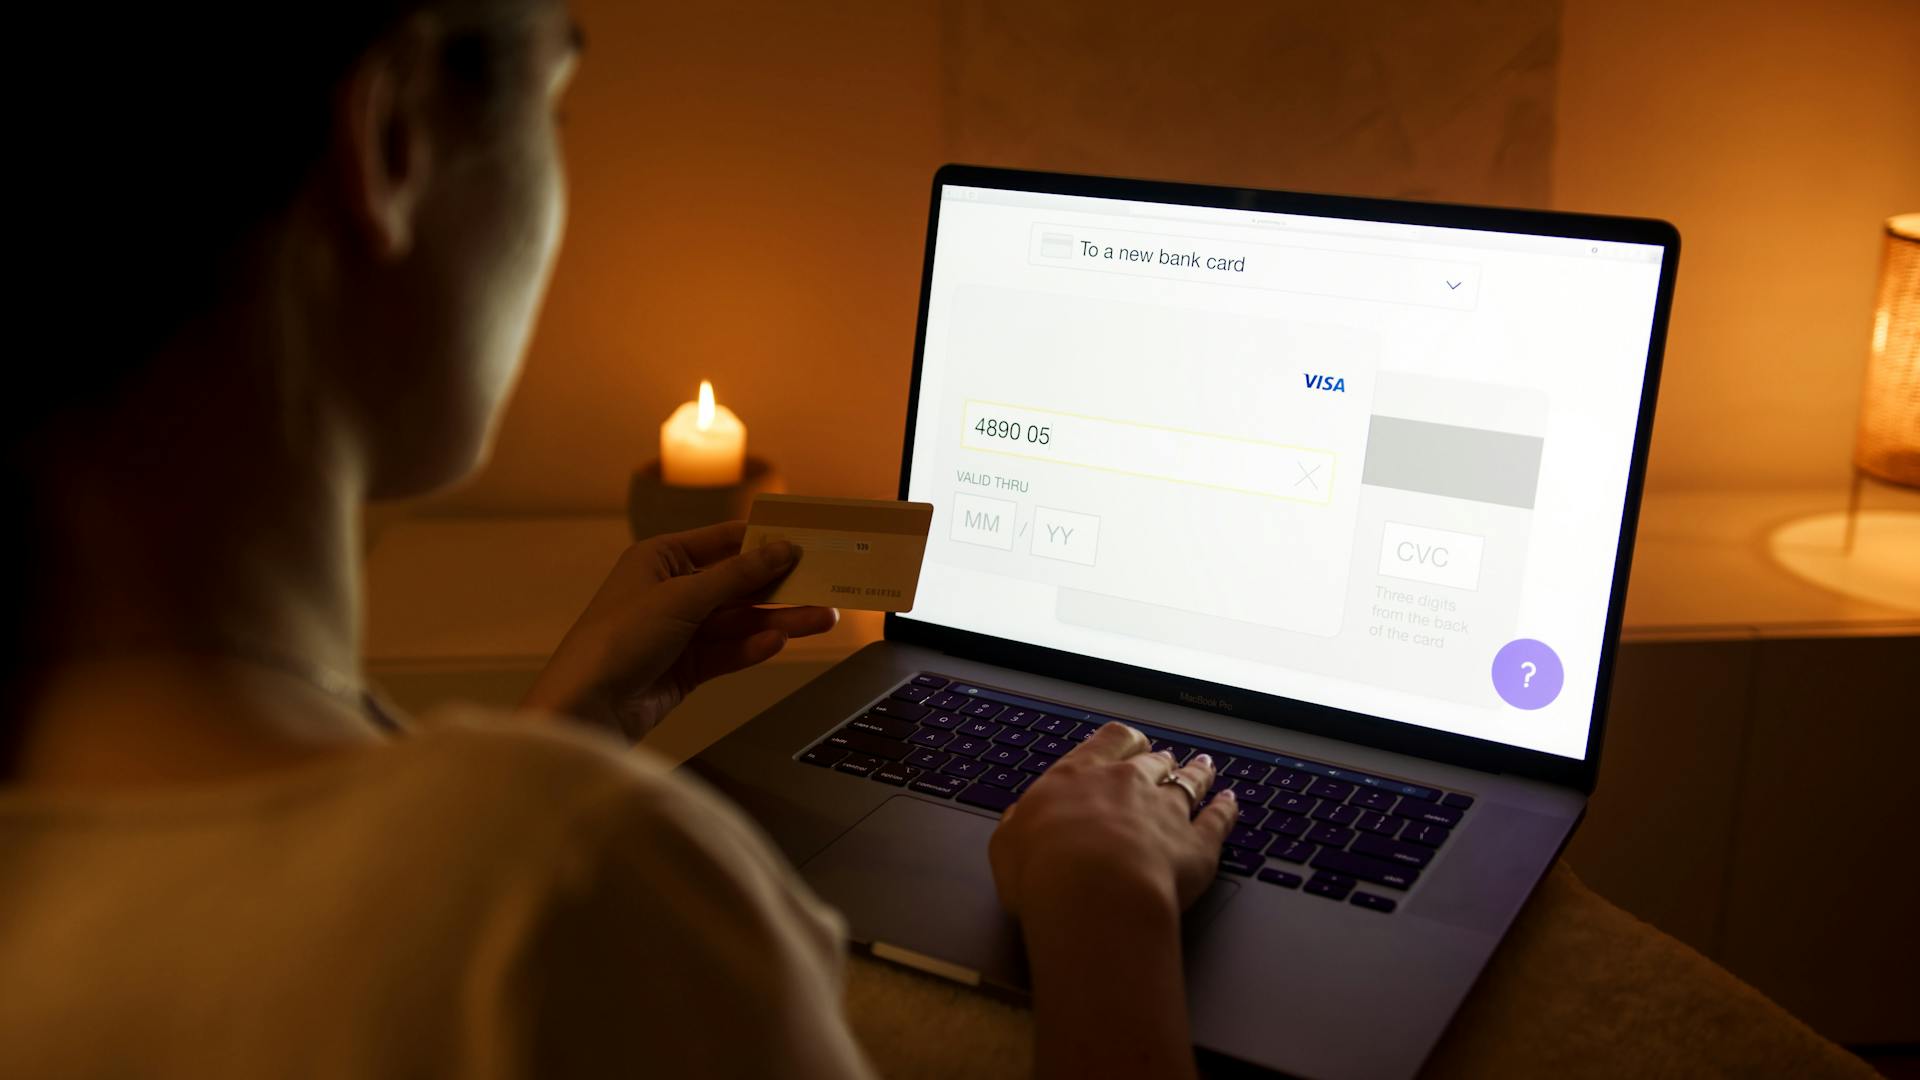
You'll also need to choose the eCheck payment method during the checkout process, which may involve selecting it from a list of available payment options.
Some platforms may also ask for additional details like a billing address or the customer's contact information.
Here are the steps to input payment details:
- Gather Bank Account Information: Obtain the necessary bank account information required for the eCheck payment.
- Choose Payment Method: Select eCheck as the payment method during the checkout process.
- Provide Bank Account Information: Enter the required bank account information into the appropriate fields on the payment page.
Remember to review and confirm the payment details carefully to ensure accuracy and avoid any potential issues.
Featured Images: pexels.com