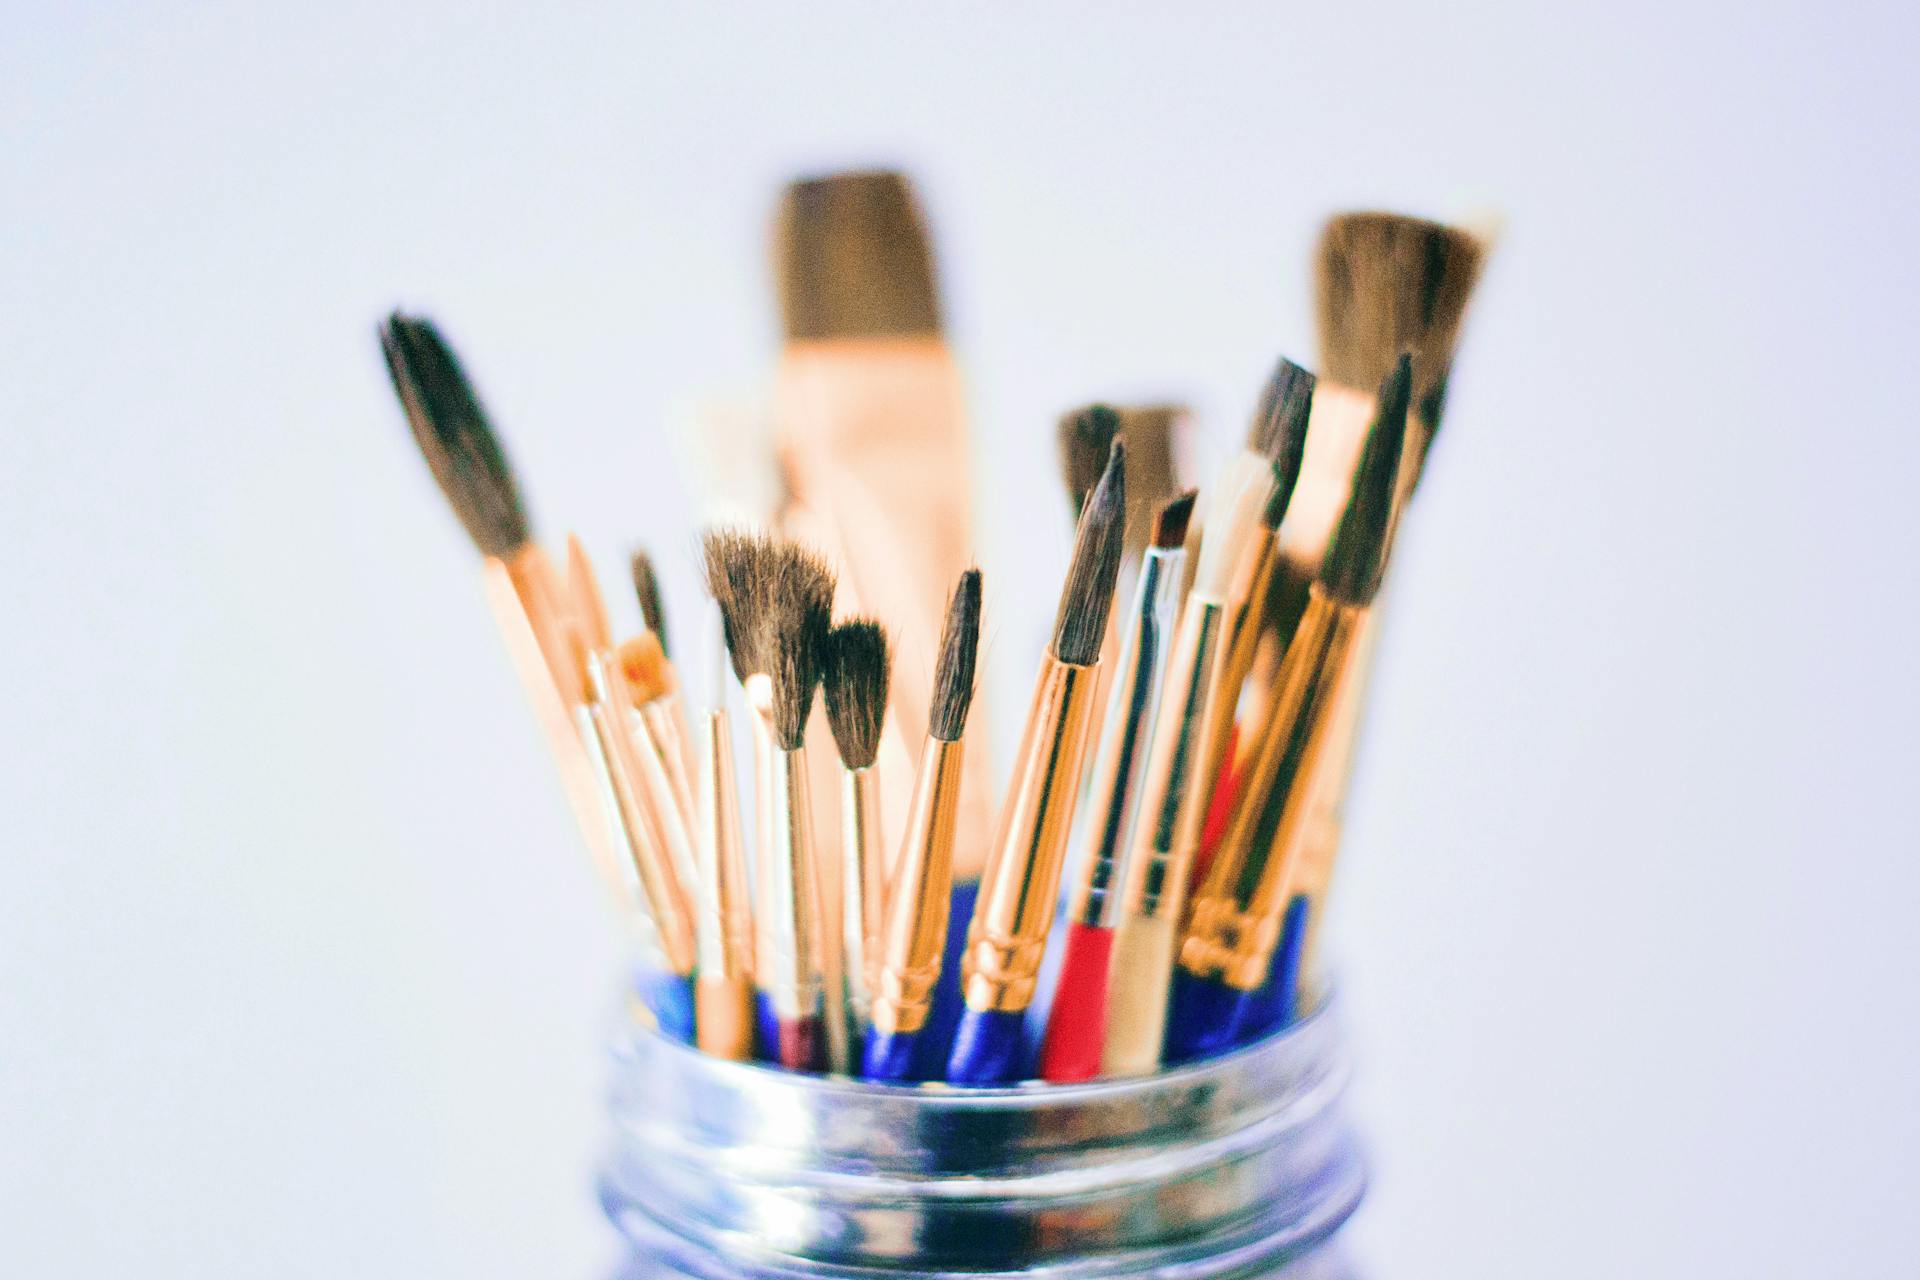
When you're done creating a masterpiece in Procreate, you may want to delete some of your brushes to clean up your workspace. Here's how:
1. Tap the brush icon in the toolbar to open the Brushes panel.
2. Tap the brush you want to delete, then tap the Delete button.
3. Confirm that you want to delete the brush by tapping Delete again.
Repeat these steps for each brush you want to delete. Once you're finished, you'll have a neat and tidy workspace to create your next work of art!
How do I delete a brush in Procreate?
There are a few different ways to delete a brush in Procreate. One way is to simply select the brush you want to delete and tap the trash can icon in the upper-right corner of the screen. This will delete the selected brush.
Another way to delete a brush is to go to the Brushes menu and tap on the brush you want to delete. Then, tap the gear icon in the upper-right corner of the screen. This will bring up the brush settings. Tap the Delete Brush button at the bottom of the settings menu.
You can also delete brushes by going to the My brushes menu and tapping the Edit button in the upper-right corner of the screen. This will bring up a list of all of your brushes. Tap the trash can icon next to the brush you want to delete.
Finally, you can delete a brush by tapping and holding on the brush thumbnail in the Brushes menu. This will bring up a delete menu. Tap Delete to confirm.
No matter which method you use, you will be asked to confirm before the brush is permanently deleted.
Explore further: Delete Screen Time
How do I delete multiple brushes in Procreate?
It's easy to delete multiple brushes in Procreate! Here's how:
1. Tap the brush icon in the toolbar to bring up the brushes palette.
2. Tap the gear icon in the top-right corner of the palette.
3. Tap "Select & Delete."
4. Tap the brushes you want to delete, then tap "Delete" in the bottom-right corner.
How do I delete a brush set in Procreate?
There isn't a specific way to delete a brush set in Procreate, but there are a few ways to go about it. One method is to simply delete the brushes one-by-one. To do this, tap and hold on the brush you want to delete, then tap the trash can icon that appears. Alternatively, you can delete all the brushes in a set by tapping the three dots in the top-right corner of the brushes menu, then tapping 'Clear All'. This will delete all the brushes in the set, but not the set itself. To delete the set, you'll need to go into the 'Settings' menu and tap 'Brushes'. Here, you'll see a list of all the brush sets you have. Tap the 'Delete' button next to the set you want to remove.
How do I delete a custom brush in Procreate?
If you want to delete a custom brush in Procreate, you need to first find the brush in the Brushes menu. To do this, tap the Brushes icon in the top left corner of the screen, then tap the 3rd icon from the left at the bottom of the Brushes menu (it looks like a little box with a pencil in it). This will bring up the Custom Brush menu.
Tap the brush you want to delete, then tap the Delete Brush button at the bottom of the screen. Confirm that you want to delete the brush, and it will be removed from your Procreate palette.
How do I delete a default brush in Procreate?
The default brushes in Procreate can be a great starting point for your drawings, but you may find that you want to delete them eventually to make room for custom brushes. Here's how to do it:
Open the brush panel in Procreate. Tap the three dots in the top-right corner of the panel. Tap "Edit" in the menu that appears. Scroll down to the bottom of the list of default brushes and tap the trash can icon next to the brush you want to delete. Tap "Delete" in the pop-up window to confirm.
You can also delete multiple brushes at once by tapping the "Select" button in the top-right corner of the brush panel, then tapping the checkmarks next to the brushes you want to delete. Once you've selected all the brushes you want to delete, tap the trash can icon in the bottom-right corner and confirm with "Delete."
How do I delete a brush from my Procreate library?
When you're finished creating a work of art in Procreate, you may want to delete some of the brushes you used from your library. This can help you declutter your workspace and make it easier to find the brushes you need for future projects. To delete a brush from your Procreate library, follow these steps:
1. Open the Brushes tab and tap the brush you want to delete.
2. Tap the three dots in the top-right corner of the screen.
3. Tap Delete Brush.
4. Tap Delete to confirm.
If you'd like to keep a brush but don't want it to show up in your default library, you can archive it instead. To archive a brush, follow these steps:
1. Open the Brushes tab and tap the brush you want to archive.
2. Tap the three dots in the top-right corner of the screen.
3. Tap Archive Brush.
4. Tap Archive to confirm.
How do I delete a brush from the Procreate app?
To delete a brush from the Procreate app, first open the app and tap on the Brushes tab. Next, tap on the brush you want to delete and tap the Delete Brush button.
How do I delete a brush from my iPad?
If you want to delete a brush from your iPad, there are a few different ways you can go about it. You can either delete the brush directly from your iPad, or you can use a third-party app to manage your brushes and delete the brush that way.
If you want to delete the brush directly from your iPad, you'll need to open up the Brushes app. Once you're in the app, find the brush you want to delete and tap on it. You'll see a trash can icon appear at the top of the screen; tap on that icon to delete the brush.
If you want to use a third-party app to manage your brushes, there are a few different options available. One option is to use an app like Procreate Brushes, which allows you to delete brushes directly from within the app. Another option is to use an app like CleanMyMac, which will scan your iPad for all of the brushes you have installed and then allow you to delete the ones you don't want.
No matter which method you choose, deleting a brush from your iPad is a pretty straightforward process. So if you find that you don't need a particular brush anymore, or if you just want to free up some space on your iPad, don't hesitate to delete it.
How do I delete a brush from my iPhone?
Assuming you would like a tutorial on how to delete a brush from your iPhone:
Open the Settings app on your iPhone. Scroll down and tap Safari. Scroll down to the bottom and tap Advanced. Tap Website Data.
Tap the Edit button in the top right corner. Find the website. In this case, it will be called "Brushes." Swipe left on the website and tap Delete.
Tap Done in the top right corner.
You might enjoy: Weebly Website
Frequently Asked Questions
How do I use procreate brushes?
There are a few different ways to use brushes in Procreate. The easiest way is to simply tap and hold on any brush, and then drag it around in your canvas. In the example below, I have tapped on the Large Round Brush and then dragged it around my canvas. Alternatively, you can also open the Brush Menu by tapping on the three dots in the bottom-left corner of your screen, and then selecting the Brush option from the menu that appears. This will open up a list of all of your currently selected brushes, as seen below. To change which brush is active, simply flick through the list until you find the one you want to use, and then tap on it to select it. Finally, let go of the mouse button and start painting with your new brush!
How to erase in Procreate?
To erase in Procreate, start by selecting the area you want to erase with your brush. Then use the Size slider on the left-hand side of your screen to adjust the size of the eraser, and use the Opacity slider to vary how boldly or thinly you’ll be erasing your object.
Can you customize procreate brushes?
Yes, you can customize the behavior of your procreate brushes in a number of ways. 1. Adjust the Size and Shape of Your Brush One of the most basic properties you can adjust is the brush’s size and shape. This allows you to create precise drawings or sketches using a wide range of sizes, shapes, and textures. To change the size and shape of your brush: Select your brush in the Brushes panel. Option-click (Mac) or control-click (PC) to select multiple brushes. On the Behaviour tab of the brush's properties panel, choose from one of these options: Regular . The brush retains its original appearance and size, regardless of how big or small you make it. . The brush retains its original appearance and size, regardless of how big or small you make it. Feather . Draw outlines with feathering that softens as you drag. Increasing the value (% reduces the outline's severity
How do I change the name of my brush in Procreate?
To change the name of your brush, go to the "Preferences" menu in Procreate and select the "Brushes" tab. In the "Brush Name" field, enter the new name for your brush. Tap the "OK" button to save your changes.
How do I download a paintbrush to procreate?
Open Procreate and tap the paintbrush icon in the toolbar. Select the folder where you want to install the brush (or create a new one). Tap the “+” at the top corner of the window to import the downloaded brush. Navigate to where the file is saved, such as in Dropbox, and tap the right file name.
Sources
- https://adventureswithart.com/how-delete-brushes-and-sets-procreate/
- https://the360report.com/how-tos/how-to-delete-brushes-in-procreate/
- https://learnersguidance.com/how-to-delete-brushes-in-procreate/
- https://www.youtube.com/watch
- https://adventureswithart.com/how-to-erase-on-procreate/
- https://123hoidap.com/threads/420464/
- https://adventureswithart.com/deleting-in-procreate/
- http://lowe.iliensale.com/how-to-delete-brush-set-in-procreate/
- https://community.adobe.com/t5/illustrator-discussions/how-do-i-delete-a-saved-brush-library-on-the-user-defined-library-on-illustrator/td-p/9381905
- https://community.adobe.com/t5/fresco-discussions/how-do-i-delete-brushes-from-fresco-library/m-p/10675160
- https://delightfuldesignstudio.com/procreate-brush-settings/
- https://support.boldbrush.com/clear-cache-on-ipad
- https://discussions.apple.com/thread/4218332
- https://www.lifewire.com/delete-photos-from-iphone-but-not-icloud-5219768
Featured Images: pexels.com