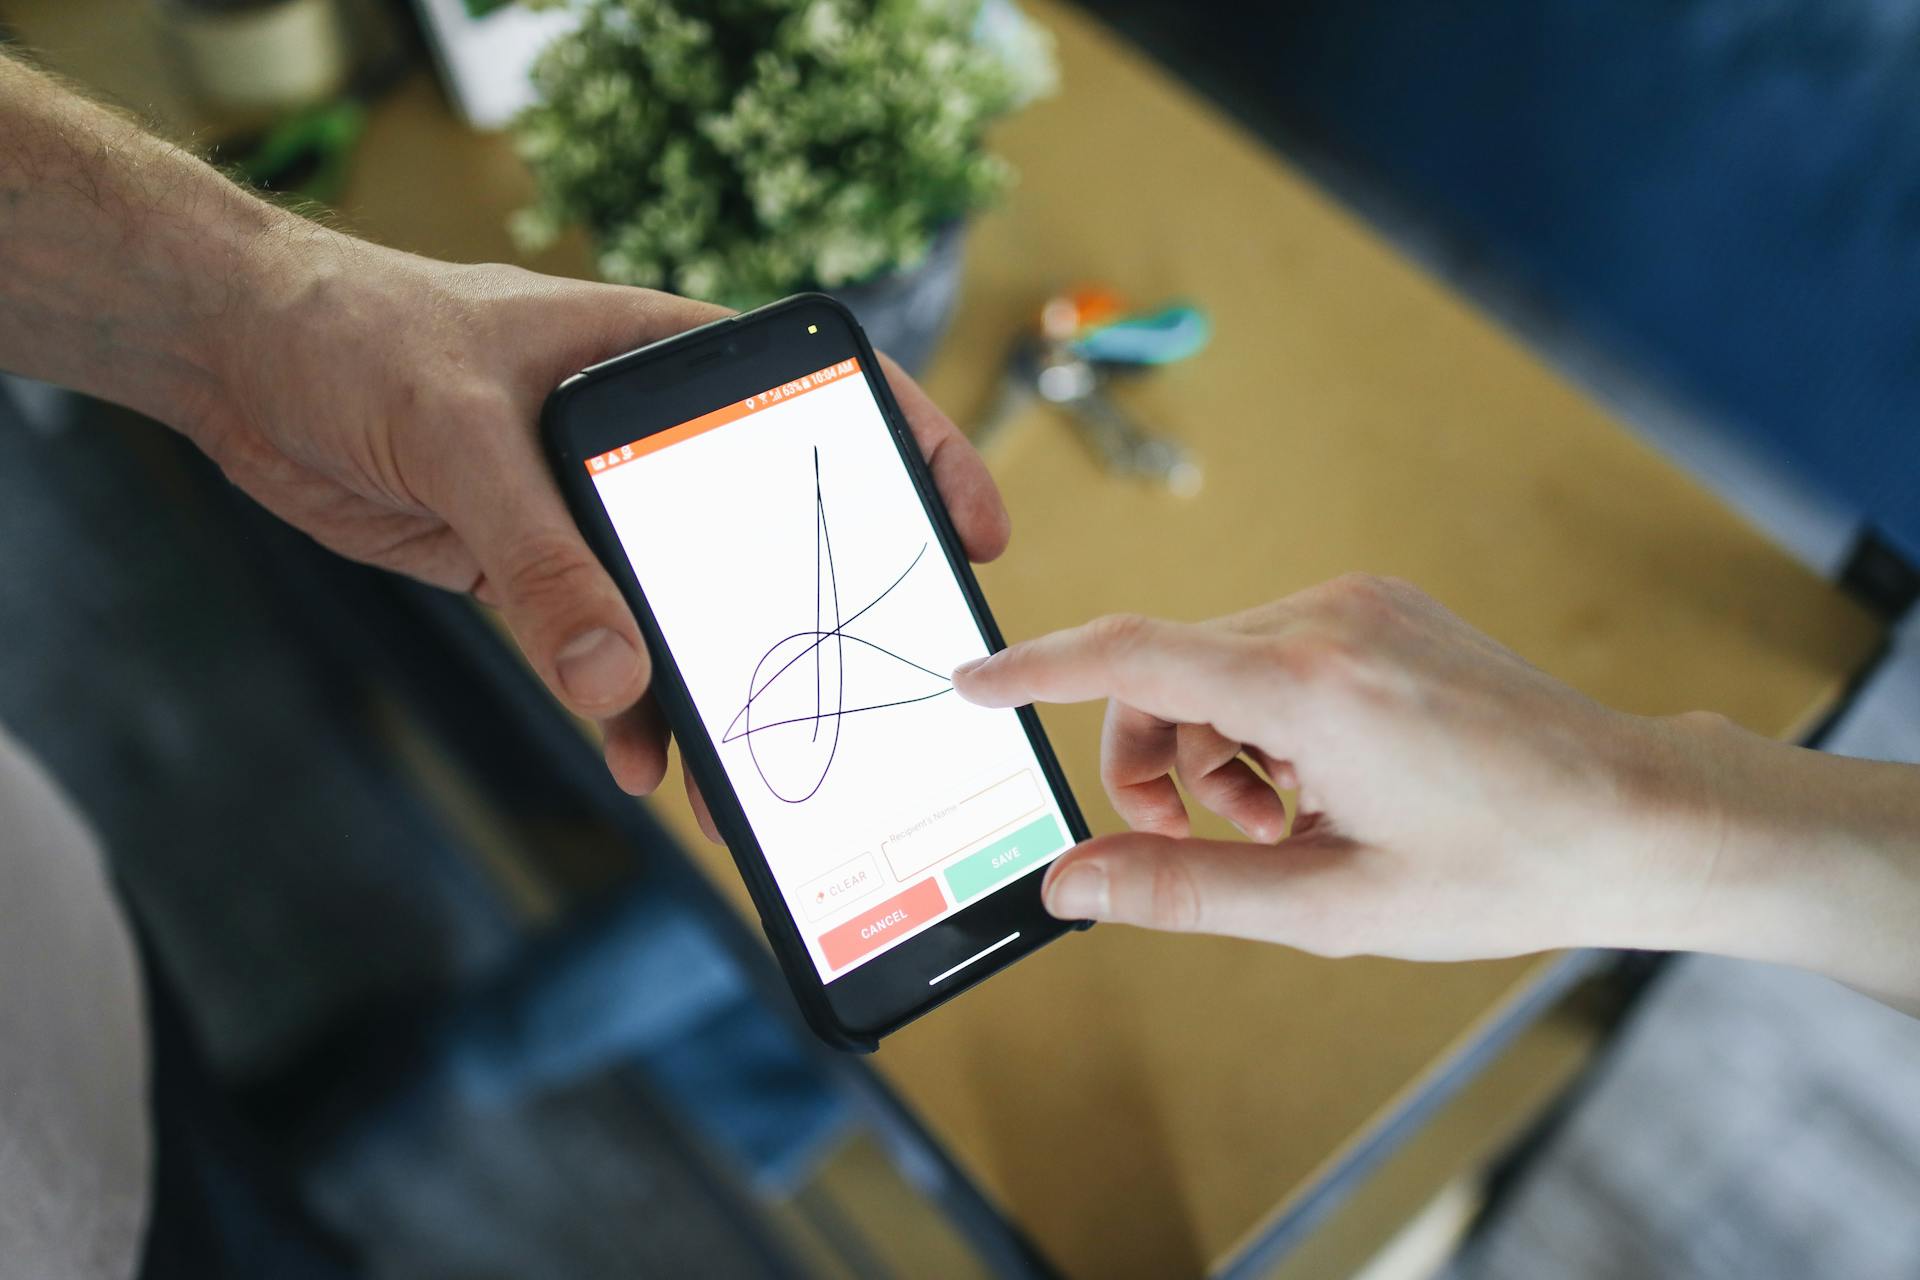
Docusign embed is a game-changer for businesses, making it easier to send and sign documents electronically. With Docusign embed, you can add a signing link to your website or application, streamlining the signing process for clients.
This feature eliminates the need for clients to leave your website or application to sign documents, reducing friction and increasing conversions. By integrating Docusign embed, businesses can save time and resources, and provide a better user experience.
Docusign embed is also highly customizable, allowing businesses to tailor the signing experience to their brand and needs. This can be achieved by adding a custom logo, changing the font and colors, and even adding a custom message to the signing link.
By simplifying the signing process, businesses can increase efficiency, reduce errors, and improve customer satisfaction.
If this caught your attention, see: Odoo Experience 2024
Choosing the Right Method
You can use Docusign JS with Focused View for an embedded, styled experience that feels native.
This method provides a focused view of the document, which can be beneficial for users who just need to sign a document.
Additional reading: Treasury View
You can use the StyleObject properties to control how it looks and behaves in your app.
Docusign JS with Focused View can also help mitigate iframe risks, as mentioned in the guide.
Here are some key differences between using embedded signing and embedding the envelope in an iframe:
- Embedded signing provides a more native experience with Docusign JS and Focused View.
- Embedding the envelope in an iframe can pose risks, as outlined in the guide.
By using Docusign JS with Focused View, you can create a seamless and user-friendly experience for your customers.
Recipient Options
Recipient Options provide a flexible way to send agreements for signature. You can choose to send agreements to a single recipient or multiple recipients.
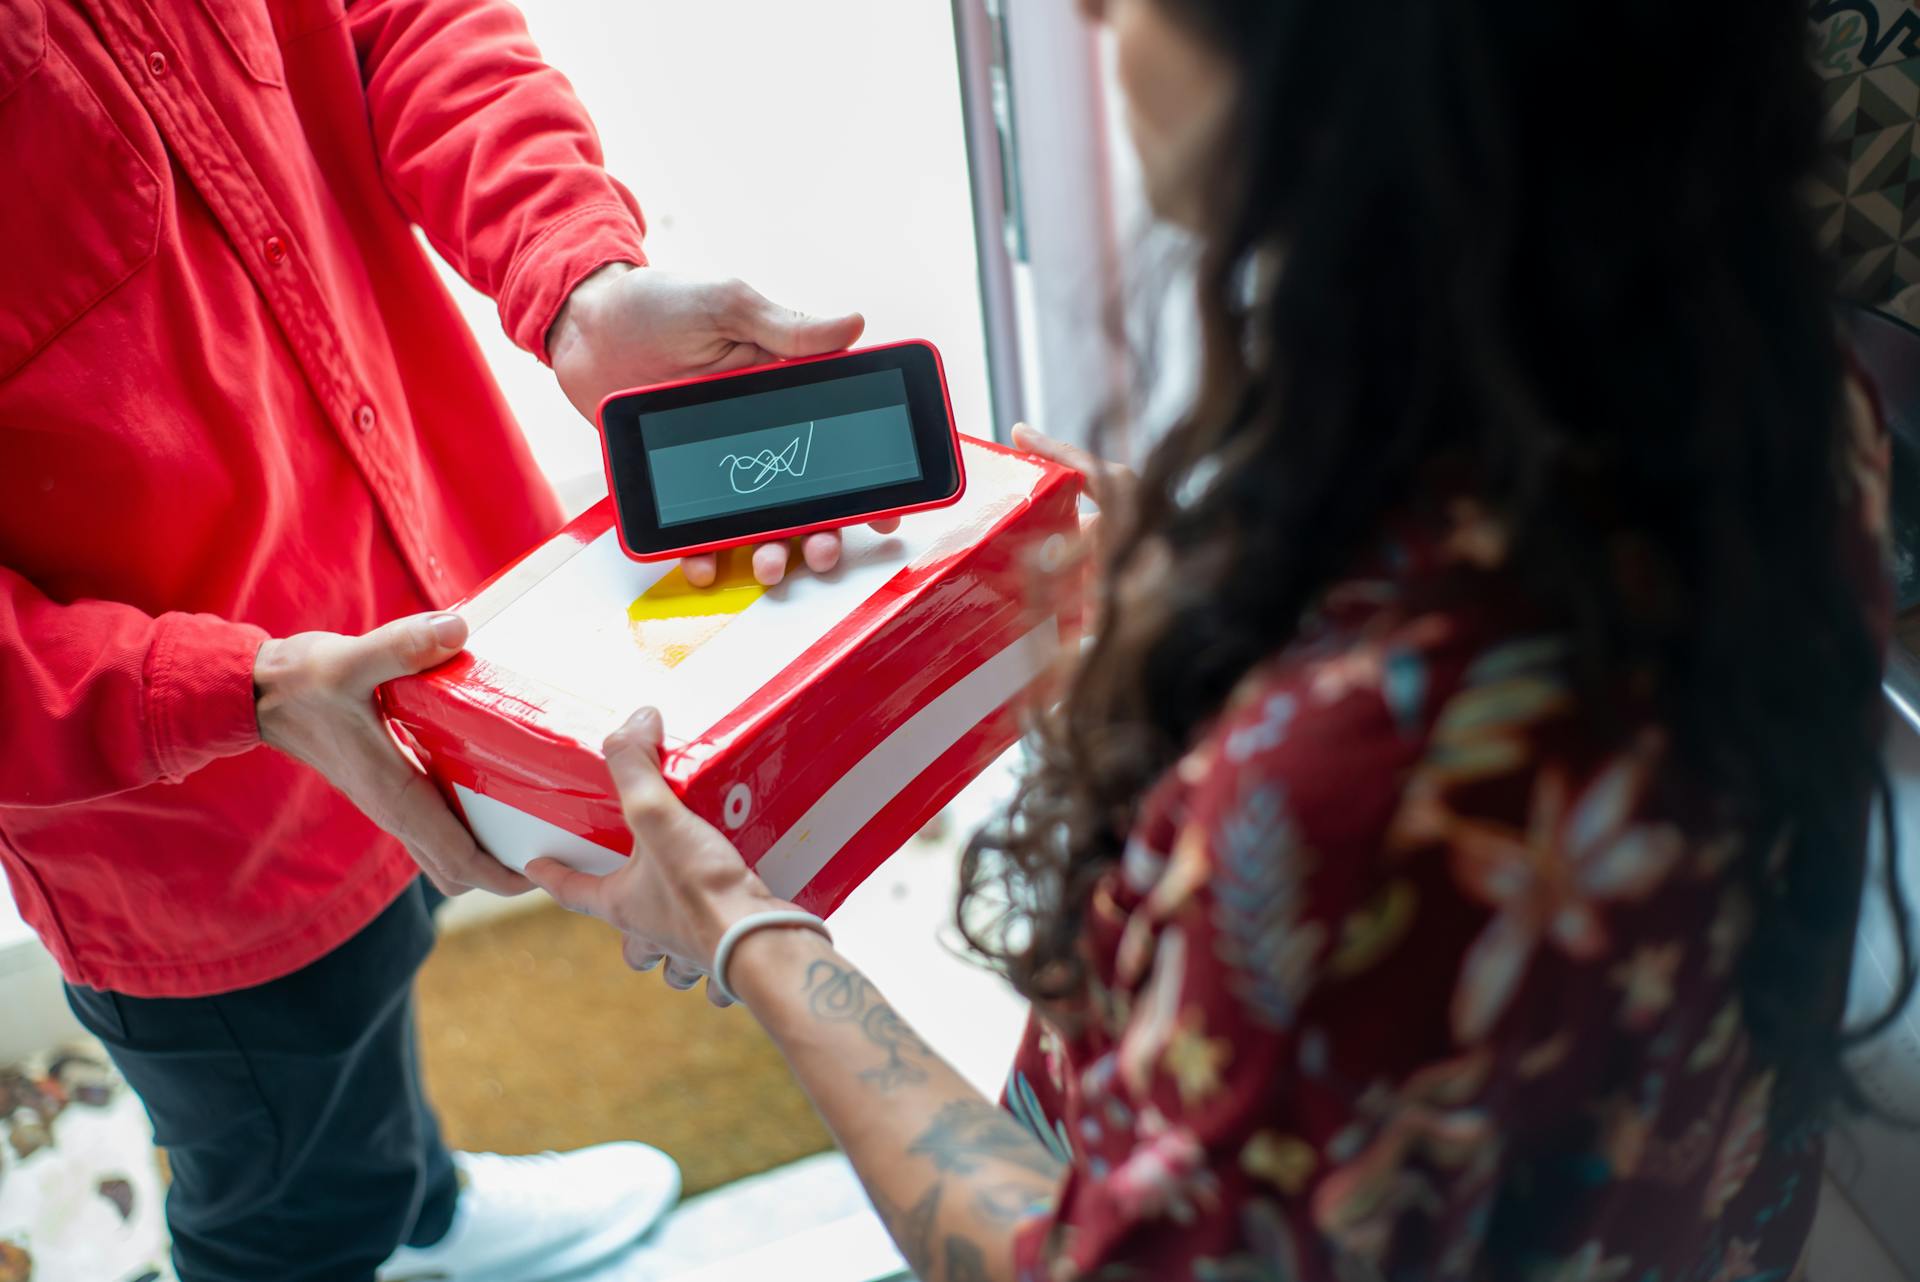
With Docusign Embed, you can select from a range of recipient options, including in-person, email, or fax. This flexibility ensures that agreements can be sent to recipients in a way that suits their preferences and needs.
You can also set up recipient roles, such as signers, carbon copy recipients, and delegated signers, to manage the agreement signing process. This helps to streamline the process and prevent delays.
Recipient notifications can be customized to include a personalized message, which can be set up in the Docusign Embed account settings. This adds a personal touch to the agreement signing process.
On a similar theme: Confidentiality Provisions in Settlement Agreements
Integration and Building
To build a Docusign integration, you'll need to create a free developer account, which gives you access to the Docusign demo environment.
You can use this demo environment to experiment with creating reusable documents, also known as templates, and try out different signer flows.
To get started, visit the Docusign Developer Center for step-by-step code examples, detailed guides, and sample apps that will help you build your integration.
Generating API keys is a crucial step in authenticating your app, and you can do this in your demo account.
The Docusign Developer Center offers video tutorials to help you navigate the process and build a successful integration.
Worth a look: Yc Demo Day 2024
Create and Send Envelope
To create and send an envelope, you'll need to create an envelope definition using the Envelopes: create endpoint. This involves setting up the recipient with a clientUserId, which tells Docusign that the signer will complete the document within your app.
The clientUserId can be any string that uniquely identifies the signer in your system, making it easy to generate the embedded signing URL in a later step. You'll also need to read the document file and convert it to a base64 encoded string.
A fresh viewpoint: Bill of Exchange Document
To create the envelope definition, you'll need to set up the document, signer, and recipients. The document definition includes the document base64, name, file extension, and document ID. The signer definition includes the email, name, recipient ID, and clientUserId. The recipient definition includes the signers array with the signer object.
Once you have the envelope definition set up, you can send the envelope using the Envelopes: create endpoint. This will initiate the embedded signing session and send an email notification to the recipient.
Here's a quick rundown of the required properties for creating an envelope:
View and Redirect Options
You have two options for creating a recipient view: focused view or classic view. The focused view is a clean, minimalist signing experience embedded directly into your app, while the classic view redirects the user to the full Docusign signing session.
To create a focused view, you'll need to generate a signing URL using the createRecipientView method. This involves creating a RecipientViewRequest object with authenticationMethod set to 'none' and clientUserId matching the one used when creating the envelope.
A unique perspective: Creating Brand Identity for Small Business
The focused view is ideal for workflows that require a clean and distraction-free experience. You can customize the button styling, navigation button, and user interface to match your app's branding.
Alternatively, you can use the classic view, which redirects the user to the full-page signing experience. To do this, simply redirect the user to the signingUrl obtained from the EnvelopeViews: createRecipient endpoint.
Here are some key customizations you can make to the focused view:
- Button styling: adjust the color and text of the primary button to match your app's branding.
- Navigation button: customize the finish text and its position on the screen.
- User interface (UI) customization: keep the signer's attention solely on the document with minimal UI distractions.
If you prefer the classic view, you can simply redirect the user to the signingUrl.
Sender View and Control
The sender view is a crucial part of the Docusign embed process. It allows the sender to configure the envelope before sending it.
To generate a sender view, you need to create an EnvelopeViewRequest object. This object contains settings that control the user's visibility and access to various envelope elements during the embedded session.
You can tailor the experience using EnvelopeViewSettings. This lets you control the user's visibility and access to various envelope elements during the embedded session.
For another approach, see: Sender Jarmulowsky
The settings include options such as starting screen, send button action, and recipient settings. You can also customize the document settings, tagger settings, and template settings.
Here are the settings you can customize:
After generating the sender view, you can either embed it in an iframe within your app or redirect the user to the sender URL. Once the sender completes the envelope configuration and sends, Docusign will automatically redirect the user back to the returnUrl specified in the viewRequest.
You might enjoy: Adam Sender
Branding and Customization
You can apply custom branding to the Docusign UI to make embedded experiences feel like a seamless extension of your app.
With Docusign branding, you can customize logos and colors, text and labels, and email appearance.
To apply branding, create a brand profile under Settings > Brands in your Docusign account or use the API.
You can customize logos and colors by replacing the Docusign logo and applying your brand colors.
Here are some specific branding elements you can customize:
- Logos and colors
- Text and labels
- Email appearance
To include the brandId when creating the envelope definition, use the Envelopes: create endpoint and include your brandId.
Branded embedded signing sessions will reflect your branding, helping reinforce user trust and visual continuity across every step.
You might like: On the Cash Flow Statement Does Capex Include Ppe
URL Generation
URL Generation is a crucial step in the Docusign embed process. You can generate a signing URL using the createRecipientView method after creating an envelope and assigning a clientUserId to the signer.
There are two types of signing sessions: focused view and classic view. Focused view is a clean, minimalist signing experience embedded directly into your app, while classic view redirects the user to the full Docusign signing session.
To create a focused-view embedded signing experience, you can use the Node.js SDK to generate a signing URL. The example code snippet below shows how to create a recipient view using the createRecipientView method:
```html
For your interest: Embedded Value
const viewRequest = new docusign.RecipientViewRequest.constructFromObject({
authenticationMethod: 'none',
clientUserId: clientUserId,
returnUrl: 'https://yourapp.com/signing-complete',
userName: signerName,
email: signerEmail,
messageOrigins: ['https://apps-d.docusign.com'],
frameAncestors: ['https://yourapp.com', 'https://apps-d.docusign.com']
});
```
You can also create an embedded signing URL by calling the CreateEnvelope API and CreateRecipientView API in sequence. This involves matching the recipient's information between the two API calls.
Here are the two ways to match the recipient information:
Note that you can also use the userId property instead of the userName and email properties to create the embedded signing URL.
Dashboard and Management
The Dashboard in the Docusign Embed is a centralized place for managing sent envelopes. From here, users can access the embedded Correct view to make real-time updates to envelopes before they are signed.
To use the Correct View, the envelope must be in the sent or delivered state. Users can modify document fields, envelope information, and more from this view.
The Correct view is accessed by selecting Edit from the Dashboard, which leverages the EnvelopeViews: CreateCorrect endpoint to redirect users to the embedded envelope correction session.
Readers also liked: An Audit Is Useful to Financial Statement Users Because It
Selecting CORRECT updates the envelope with the changes and keeps it in its current workflow state, whether sent or delivered. This allows recipients to interact with the revised version without requiring a new envelope.
Users are then redirected back to the Dashboard of the app after making changes in the Correct view.
See what others are reading: Spacex Rocket Fails to Deliver Starlink Satellites to Correct Orbit
Frequently Asked Questions
What is an embedded request?
An embedded request is a feature that enables users to create, upload, and send documents directly from your website or mobile app. It streamlines the document-sharing process, perfect for applications where users need to review or make changes before sending for signature.
Featured Images: pexels.com